Real Estate Photography Guide 2026
Why most real estate photos fail and how to fix them. A practical guide to photographing Sydney properties that sell faster.

Walk into any real estate agency in Sydney and you will see the same problem: listings with dark, crooked, or lifeless photos that sit on the market for months. The agent blames the market. The seller blames the agent. Meanwhile, competing properties with professional photography sell faster and attract more competition at the open.
This is the complete version of the guide we wish every agent and vendor had read before their first campaign. It covers how a professional shoot actually runs, how to prepare a property, what belongs on the shot list, when twilight, drone, floor plans and virtual staging earn their place, and how to choose a photographer when you decide not to do it yourself.
In this guide:
- The three-second rule
- How a professional shoot actually runs
- Preparing the property
- The shot list that sells
- Light is the whole game
- Twilight photography
- Drone and aerial photography
- Floor plans
- Virtual staging
- Video and vertical content
- Common mistakes
- Choosing a photographer
- A campaign timeline that works
The Three-Second Rule
Buyers make initial decisions fast. Your photos have three seconds to convince them to click for more information or scroll past. Three things matter:
Light: Rooms must look bright and open, not dark and cramped. This means shooting at the right time of day and knowing how to supplement natural light without making spaces look artificial.
Lines: Vertical lines must be vertical. Slanted walls and crooked door frames signal amateur work and create subconscious discomfort.
Space: The photo must accurately represent the room while making it feel spacious. Wide-angle lenses help, but misuse them and rooms look distorted and misleading.
Everything else in this guide serves those three seconds. The gear, the prep, the add-ons: they all exist to make the first thumbnail earn a click and the gallery hold attention long enough to book an inspection.
How a Professional Shoot Actually Runs
Knowing the shape of a professional shoot helps you brief one properly, whether you are hiring us or someone else.
The brief comes first. A good photographer wants the address, the property type, roughly how many images the campaign needs, which add-ons are in scope, and anything unusual about access or timing. That last part matters more than people expect: tenanted properties, strata buildings with lift bookings, and homes with pets or shift workers all change how the morning runs.
Timing is chosen for the light, not the diary. An east-facing facade wants a morning exterior. A west-facing one wants the afternoon. Interiors are more forgiving, but the difference between a gallery shot in flat midday glare and one shot when the light works is visible to every buyer, even if they cannot say why.
On site, a typical house takes one to two hours. The photographer works to a shot list, adjusts lighting room by room, and shoots each space from the angles that show flow and scale rather than just filling frames. Composite exposures handle bright windows and dark corners so the final image holds detail in both.
Editing is where consistency is won or lost. Colour balance, vertical correction, window pulls and sky treatment happen in post. Our own standard is edited listing photos delivered by 9am the next business day, because a gallery that arrives while the vendor is still excited keeps the campaign moving.
Preparing the Property
Photography multiplies whatever it is pointed at. A prepared home photographs like a magazine spread; an unprepared one photographs like a rental inspection. The full room-by-room checklist lives in our property preparation guide, but the short version:
- Declutter every visible surface. Kitchen benches, bathroom vanities, bedside tables, the fridge door. Buyers imagine their own life in the space, and they cannot do it around yours.
- Light every globe. One dead downlight in a row is all a photo needs to look tired.
- Hide the daily-life kit: bins, dish racks, pet bowls, cables, chargers, laundry.
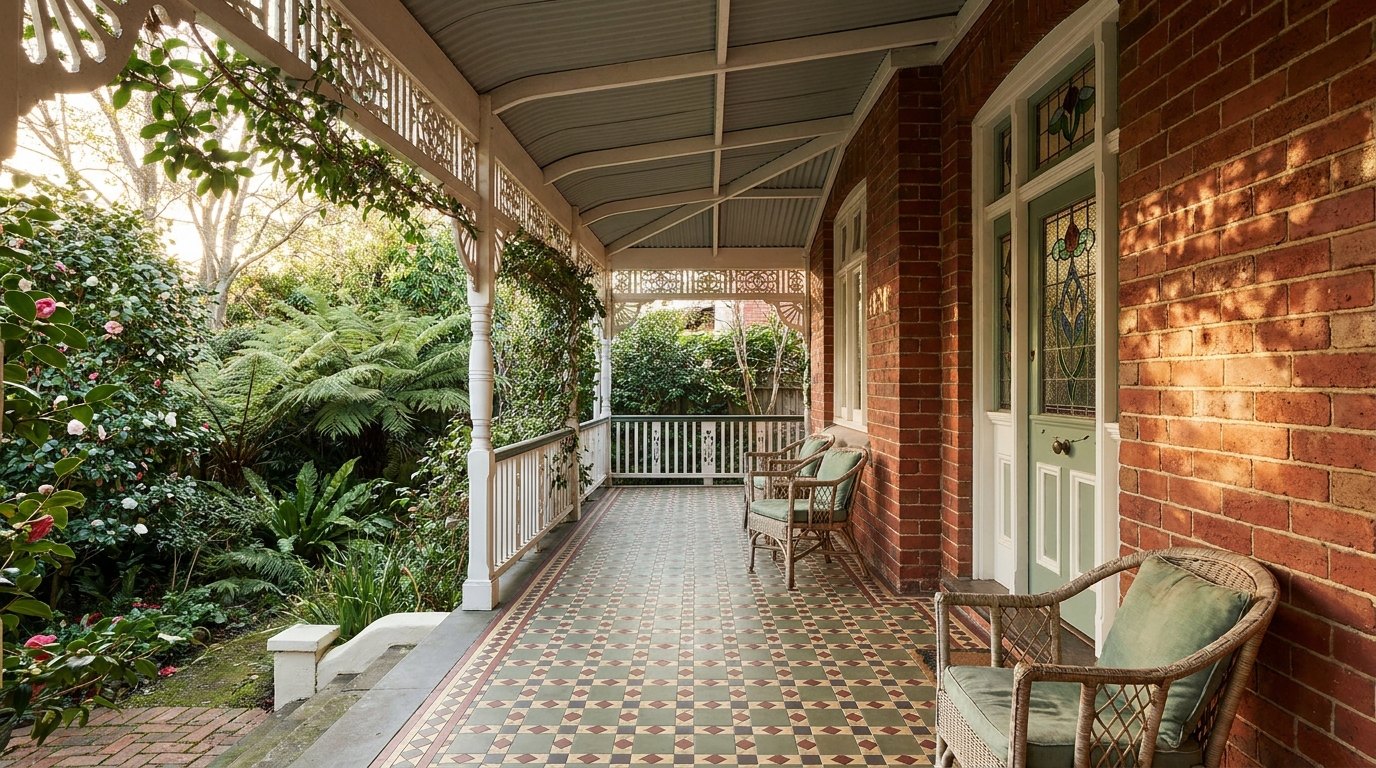
- Outside counts double. The facade is the first photo in almost every gallery: mow, sweep, move the cars off the driveway, and hide the hose.
- Style what you keep. A made bed, a folded throw, and a single plant do more than a room full of ornaments.
Agents: send the vendor the checklist when the shoot is booked, not the night before. Preparation is the cheapest improvement in real estate marketing, and it is free.
The Shot List That Sells
A campaign gallery is a story with a beginning: hero exterior, living space, kitchen, then the rest in the order a buyer would walk the home. The room-by-room craft:
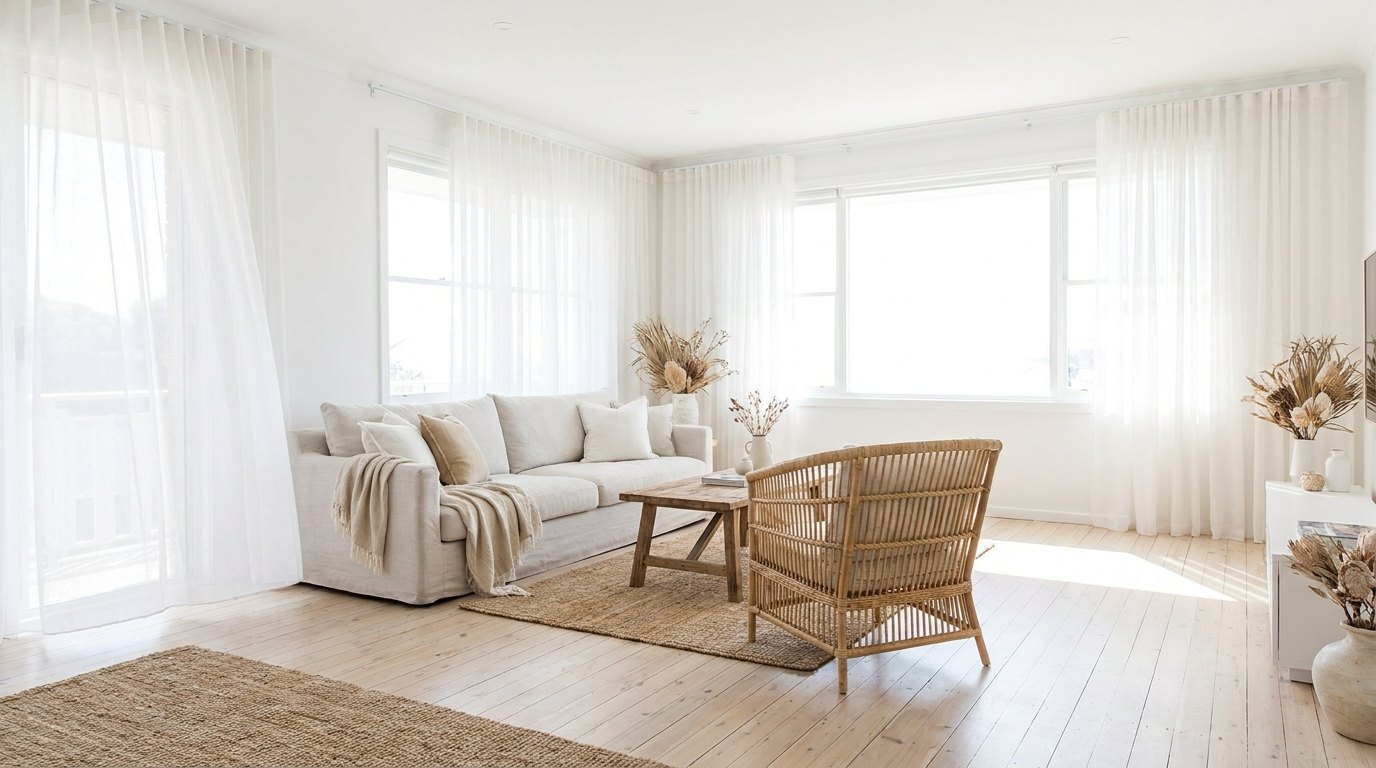
Living Areas: Shoot from chest height, not eye level. This makes spaces feel larger. Position yourself in doorways to capture depth. Remove clutter ruthlessly: buyers imagine their own furniture, not yours.
Kitchens: Clear benchtops completely. Yes, completely. Turn on all lights and under-cabinet lighting. Shoot from the corner to show workflow and bench space.
Bedrooms: Make beds properly: tight, flat and smooth. No wrinkles, no decorative pillows that distract. Shoot from the doorway showing the bed and at least one window.
Bathrooms: Close toilet lids. Always. Remove personal items from counters and showers. Use flash to balance harsh overhead lighting.
Exteriors: Shoot during the golden hour, one hour after sunrise or before sunset. This gives warm, inviting light instead of harsh midday shadows.
How many images? Enough to tell the story and no more. A one-bedroom apartment rarely needs more than a dozen finals; a large family home might carry twenty five or thirty. Portals reward a strong, tight gallery over a padded one, because every weak frame is an invitation to scroll on.
One more rule that separates professional galleries from padded ones: every image should answer a buyer question. Where do I cook, where do I sit in the sun, where do the kids sleep, what does the street feel like. If a frame answers nothing, cut it.
Equipment That Actually Matters
You do not need the latest camera: a body with manual controls, a wide-angle lens, a sturdy tripod and disciplined editing cover it, because the skill lives in the light, the lines and the edit rather than the sensor. The honest phone-versus-pro comparison, including why phone sensors lose the windows, is in iPhone vs professional real estate photos.
Light Is the Whole Game
Sydney's light is generous but opinionated. Summer sun is harsh and directional; winter light is softer but the window is short. East-facing properties photograph best in the morning, west-facing in the afternoon, and overcast days are often a gift: cloud acts as a natural diffuser and saves the highlights.
Indoors, the argument between natural light and flash is mostly noise. Professionals use both: a natural base exposure so the room looks like itself, flash to fill shadows and hold the view in the windows, blended in post. We wrote up the trade-offs properly in natural light vs flash for Sydney properties.
The practical takeaway for agents: when a photographer asks to schedule around the property's aspect rather than squeezing the shoot between two opens, say yes. The gallery is the campaign; the diary can flex. Our notes on the best times to photograph a Sydney listing cover this season by season.
Twilight Photography
A twilight exterior, shot in the twenty minutes after sunset with every interior light glowing, is the single most clickable image in Sydney property marketing. It signals a premium campaign before a buyer reads a word, and it earns its place on any home with street presence, a view, a pool, or outdoor entertaining that comes alive in the evening.
It is not for everything. An apartment with no exterior aspect gains little, and a twilight shot of an unremarkable facade is money spent on the wrong lever. The judgment call and the results are covered in why twilight photography sells properties faster, and the shoot itself is a dedicated visit: the usable window is short, so it is planned to the minute. Our twilight photography service handles the timing; if you want to sanity-check the dusk window for a given month, the Sydney twilight calculator does the maths.
Drone and Aerial Photography
Aerials answer the questions ground photos cannot: how big is the block, what is the aspect, how close is the water, the park, the school. For waterfront and view properties, corner blocks, acreage and anything where position is the story, drone photography is the difference between claiming the location and showing it.
Two things to know before you book anyone. First, the rules are real: commercial drone work in Australia sits under CASA regulation, there are exclusion zones across Sydney, and the fines for casual corner-cutting land on real people. We covered what agents actually need to know in drone rules for real estate in Australia. Second, aerials should be shot the same day as the rest of the gallery wherever possible, so the light and the editing match and the campaign reads as one piece of work.
Floor Plans
Buyers do not shortlist what they cannot map. A gallery tells them how a home feels; the floor plan tells them whether their furniture, their family and their life fit inside it. Portals consistently show listings with floor plans holding attention longer, and buyer feedback says the same thing in plainer words: no plan, no inspection.
The 2D versus 3D question is simpler than it looks. A clean, accurately measured 2D plan is the non-negotiable baseline for every listing. 3D plans add furniture-scale context that helps off-the-plan and investor campaigns, and they pair naturally with virtual staging on vacant homes. Our complete guide to real estate floor plans walks through both.
Virtual Staging
An empty room photographs smaller than it is and colder than it should be. Virtual staging furnishes the photo instead of the property: real furniture, digitally placed, at a fraction of the logistics of physical staging and with none of the truck hire.
Done honestly, it is a legitimate and disclosed marketing tool: the geometry, light and finishes of the room are real, and the listing notes the staging. Done badly, it torpedoes trust at the first inspection. The line between the two, and when physical staging still wins, is the subject of virtual staging vs traditional staging and our practical guide to virtually staging vacant listings. Shooting a vacant home so it still sells is its own craft; we wrote that up in vacant vs furnished.
Video and Vertical Content
Photography carries the portal listing; video carries everything else. A sixty-second walkthrough gives buyers flow and scale that stills cannot, and vertical cuts feed the Instagram and TikTok channels where a growing share of buyers first meet a listing. Whether it is worth it, and what a good one looks like, is covered in video vs photos; the short version is that the agents using property video consistently are reaching buyers their competitors are not.
The efficient way to do this is to capture stills, video and aerials in one visit, edited to one look. That is the logic of the complete listing package: one shoot, one edit, every channel fed.
Common Mistakes
Over-editing: Heavy HDR processing makes photos look fake. Buyers notice and trust decreases. Edit for accuracy, not drama.
Rushing: Each room needs proper setup, lighting adjustment, and multiple angles. Speed can compromise quality.
Ignoring verticals: Straighten everything in post-processing. Crooked lines look unprofessional.
Clutter blindness: You live with your stuff. Buyers see mess. Clear surfaces completely before shooting.
Shooting for the seller, not the buyer: The goal is not to flatter the owner's decorating. It is to help a stranger imagine living there.
Mismatched galleries: Aerials from one contractor, stills from another, video from a third, each with different colour and different weather. Buyers read the inconsistency as carelessness. One shoot, one edit.
Choosing a Photographer
If you are an agent handling more than five listings per year, professional photography quickly becomes leverage. A stronger first impression can reduce wasted campaign time and improve buyer confidence. Professionals bring consistent quality across all listings, faster turnaround, equipment for challenging spaces, and editing that enhances without distorting.
Choosing between photographers comes down to a short checklist:
- Portfolio depth in your property type and your area, not just their ten best frames ever
- Turnaround in writing. Next-morning delivery is the professional standard for listing photos; if the answer is vague, so is the schedule
- Licensing and insurance for drone work, and public liability generally
- Consistency across a whole recent campaign, because anyone can cherry-pick one gallery
- Who owns the images and how reuse works, which matters more than most agents realise: see who owns real estate photos in NSW
We wrote a fuller version, including the questions that expose a weak operator in two minutes, in how to choose a real estate photographer in Sydney. And if the shortlist is one name long: this is what we do, across the Inner West, the Eastern Suburbs and the Lower North Shore.
A Campaign Timeline That Works
Pulling the pieces into one schedule, here is the shape of a well-run photography week for a standard listing:
Seven days out: book the shoot, confirm the aspect and pick the time of day to suit it. Send the vendor the preparation checklist the same day, while there is still time to act on it.
Two days out: confirm access, keys, alarms, pets and parking. For strata buildings, book the lift and check whether the building manager needs notice. Decide the add-ons now: twilight and drone are scheduled visits, not afterthoughts.
Shoot day: the vendor does a final sweep an hour before the photographer arrives: lights on, benches clear, cars off the driveway. The photographer works the shot list; the agent does not need to hover.
Next morning by 9am: the edited gallery lands. Load the portal listing, brief the copywriter against the actual images, and get the campaign live while the vendor's momentum is high.
The pattern is the point: every day of delay between shoot and launch is paid for in vendor patience, and none of it is necessary.
Online listings dominate first impressions, and buyers eliminate properties on photos before they ever contact an agent. The stack that wins in 2026 is not complicated: a prepared property, a professional gallery shot to the light, a floor plan, aerials where position matters, twilight where presence matters, staging where the home is empty, and video feeding the channels the portals do not reach. Quality real estate photography is not an expense; it is leverage that pays back in days on market, and it compounds.
Invest accordingly.

Harrison Macourt
Founder, Macourt Media
Photography, video and social content for Sydney agencies, brands and property teams since 2022. About Harrison.
Planning a listing? Tell us the address and the launch date.